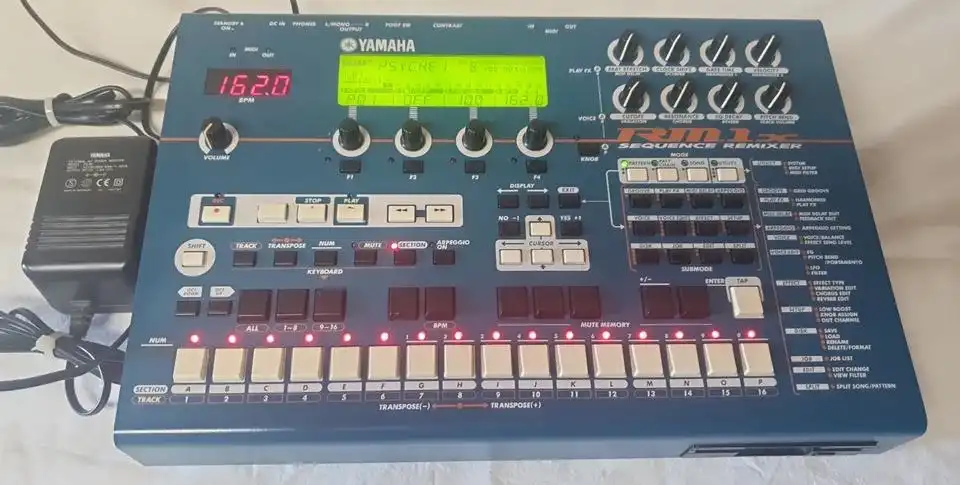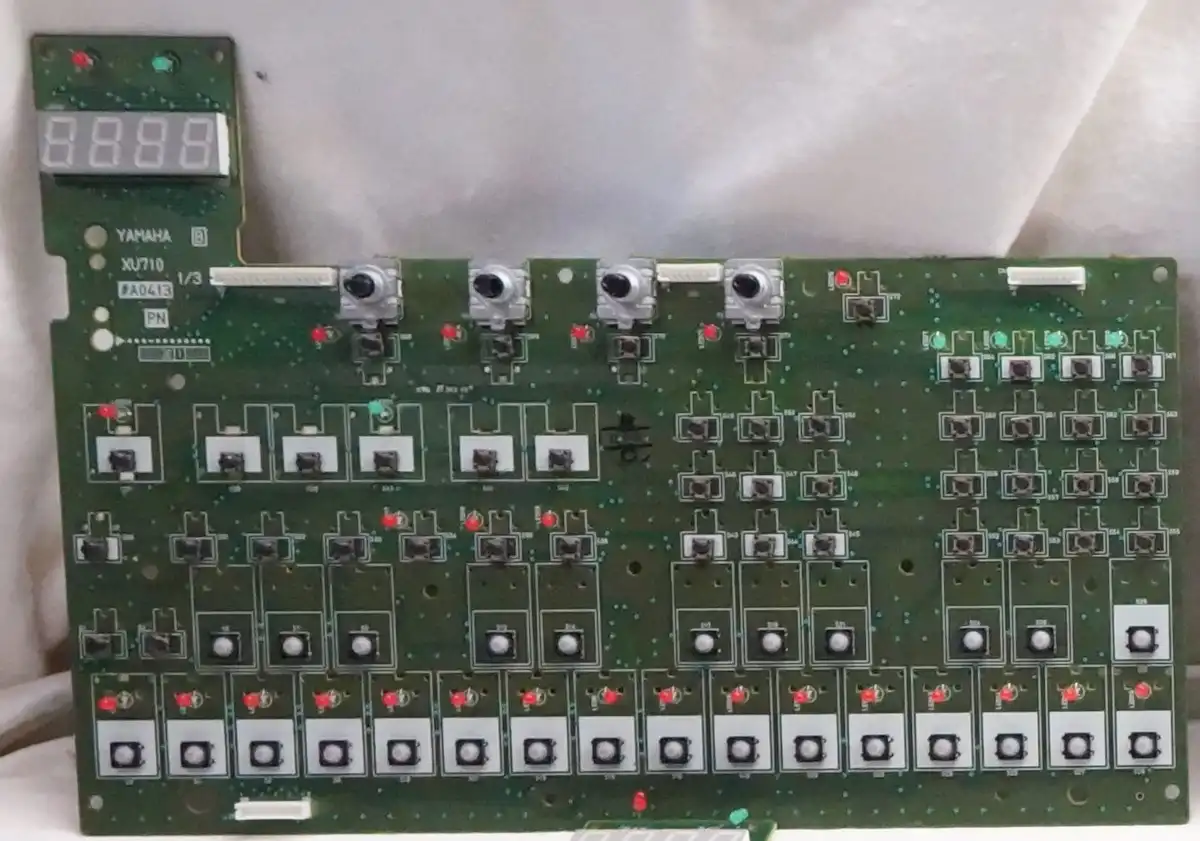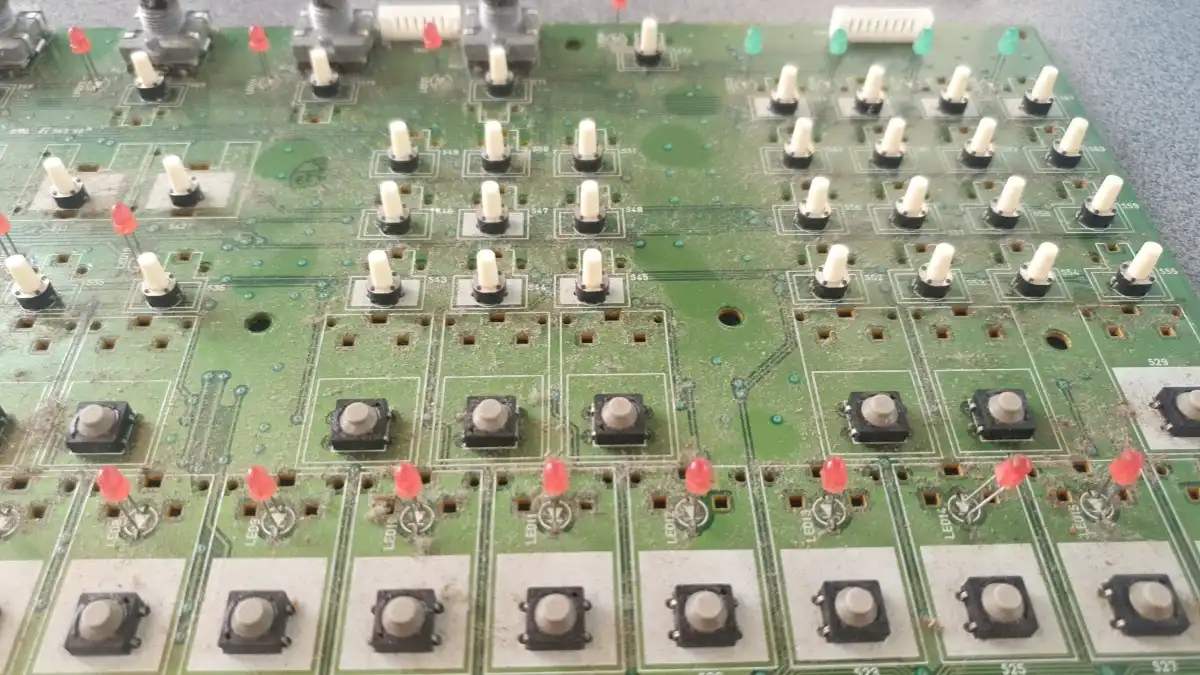
The Yamaha RM1x Groovebox is not only known for its excellent hardware sequencer but also for the fact that its buttons tend to stop functioning properly over time due to dust accumulation and aging. Manufactured between 1999 and 2002, it is hardly surprising that some components may fail after so many years.
One major drawback is that the RM1x has a total of 72 buttons. The same applies to the encoders and potentiometers. For this reason, notaufnahme always recommends a complete replacement of these components.
Symptoms of the Defect
The affected Yamaha RM1x exhibited several problems:
-
Several buttons responded only sporadically or had to be pressed multiple times.
-
The encoders jumped uncontrollably between values or stopped functioning entirely.
-
The potentiometers no longer adjusted parameters precisely.
These symptoms made it almost impossible to use the Yamaha RM1x reliably in the studio or on stage. A repair was unavoidable.
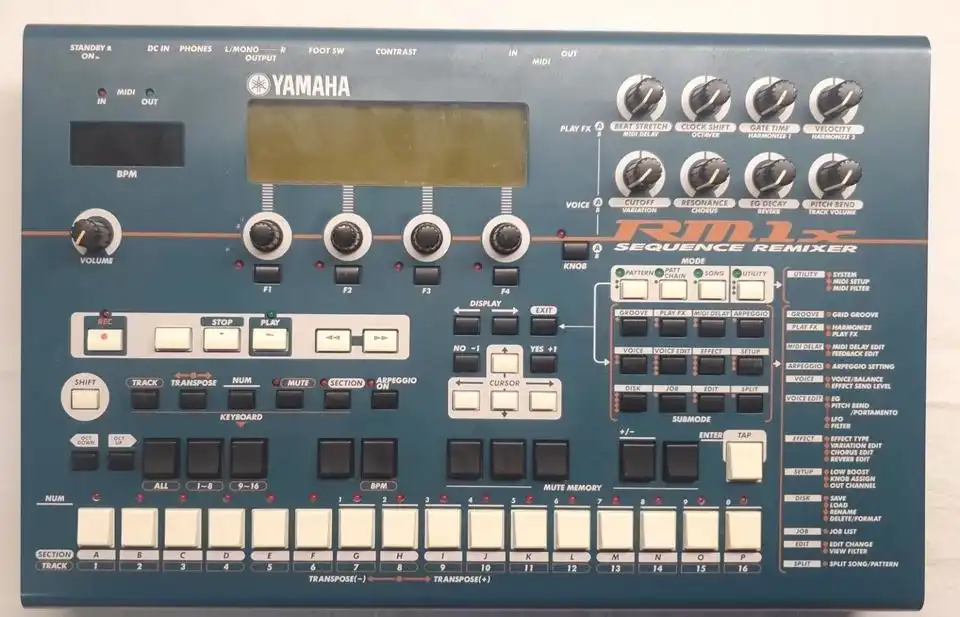
Diagnosis and Preparation
First, the device was opened and the affected components were examined. Using a multimeter, faulty contacts and resistance fluctuations in the potentiometers were identified. It was then decided to replace all faulty buttons, encoders, and potentiometers with new replacement parts.
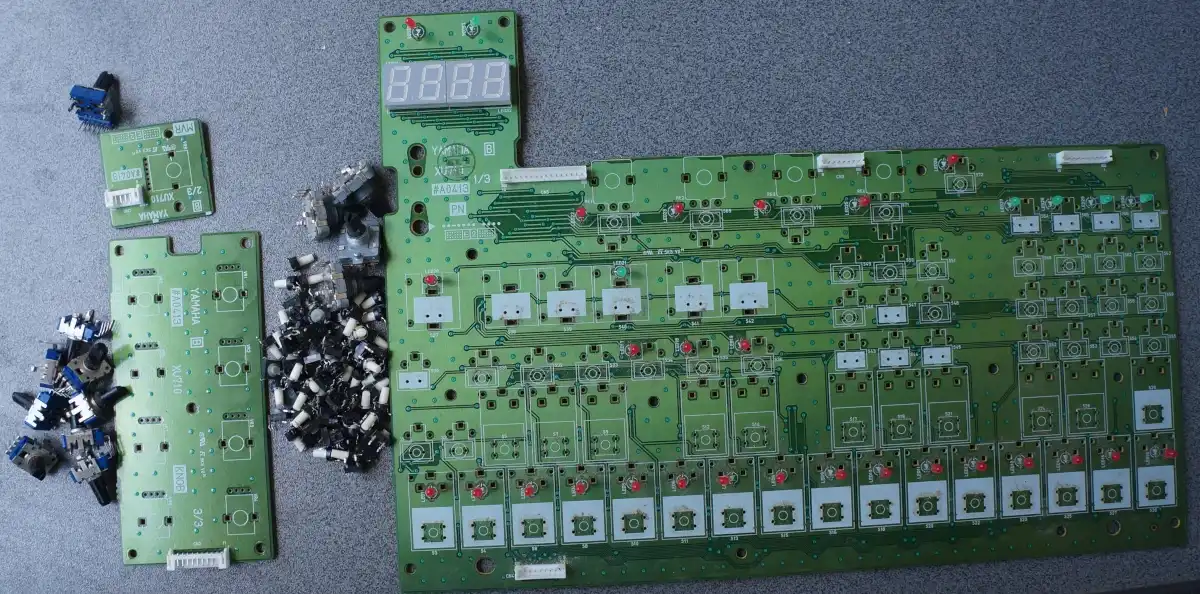
Replacement of Components
-
Buttons: The old buttons were desoldered and replaced with new models. It was particularly important to select buttons with similar or improved pressure sensitivity.
-
Encoders: The defective encoders were carefully desoldered, ensuring that the circuit board was not damaged. The new encoders were soldered in and tested for functionality.
-
Potentiometers: The old potentiometers were removed and replaced with new ones. Care was taken to ensure that the resistance value and mechanical design matched the original replacement parts.
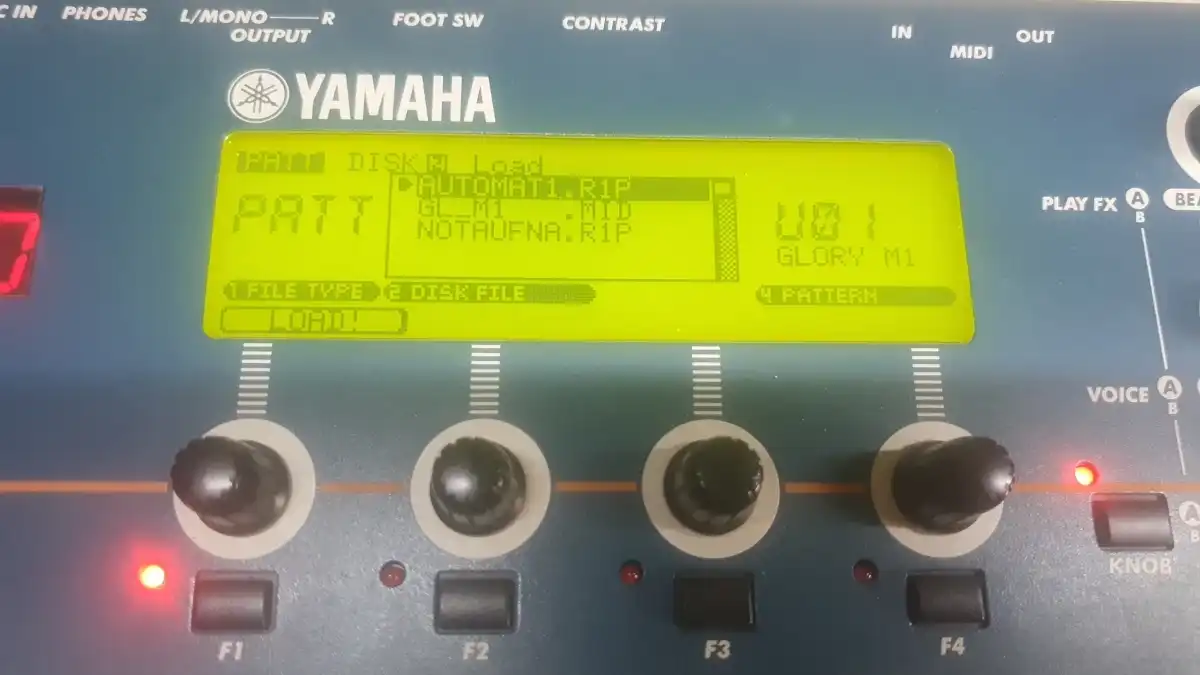
-
ROM Version Update: Since the device was already open, the ROM was replaced, and it now runs the latest firmware version 1.13.
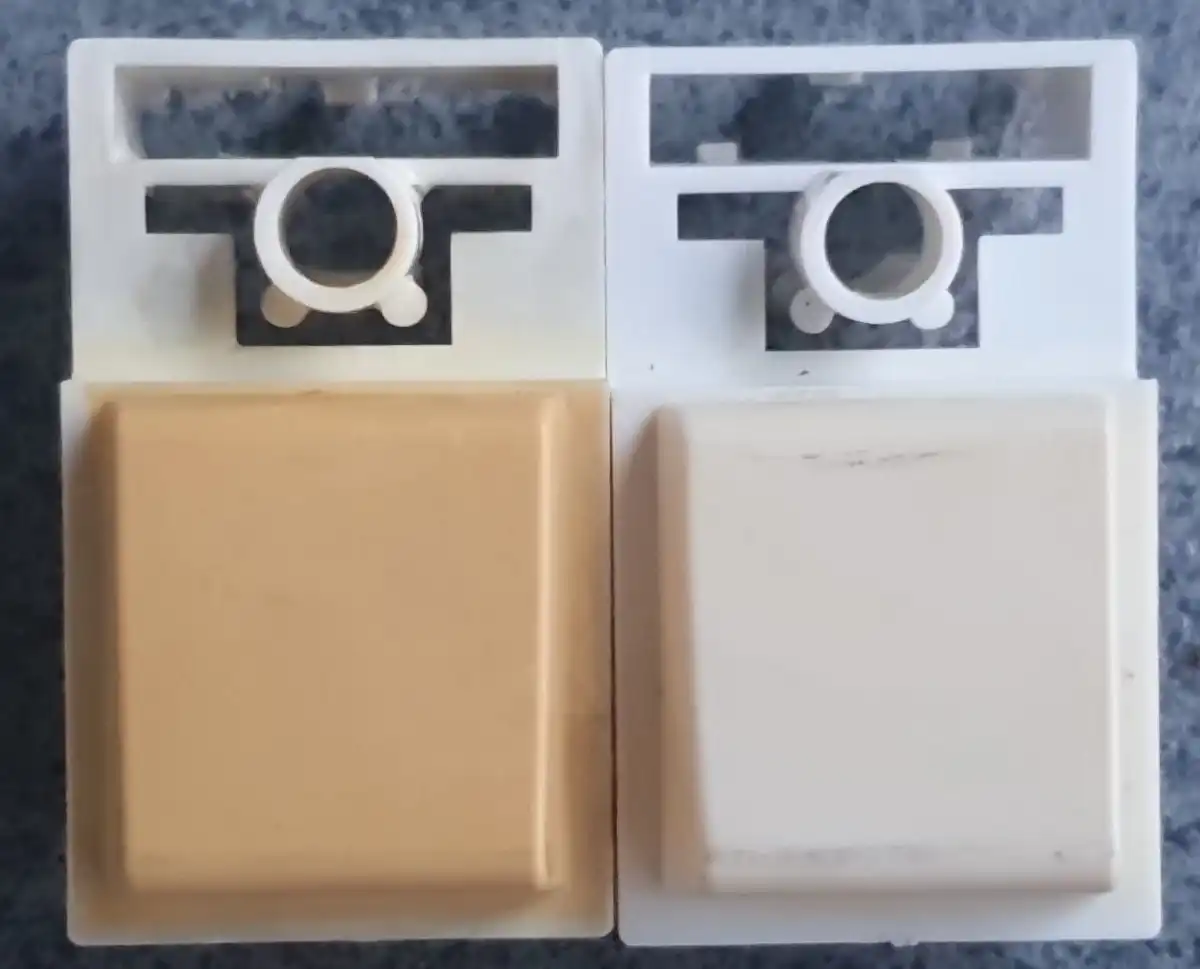
-
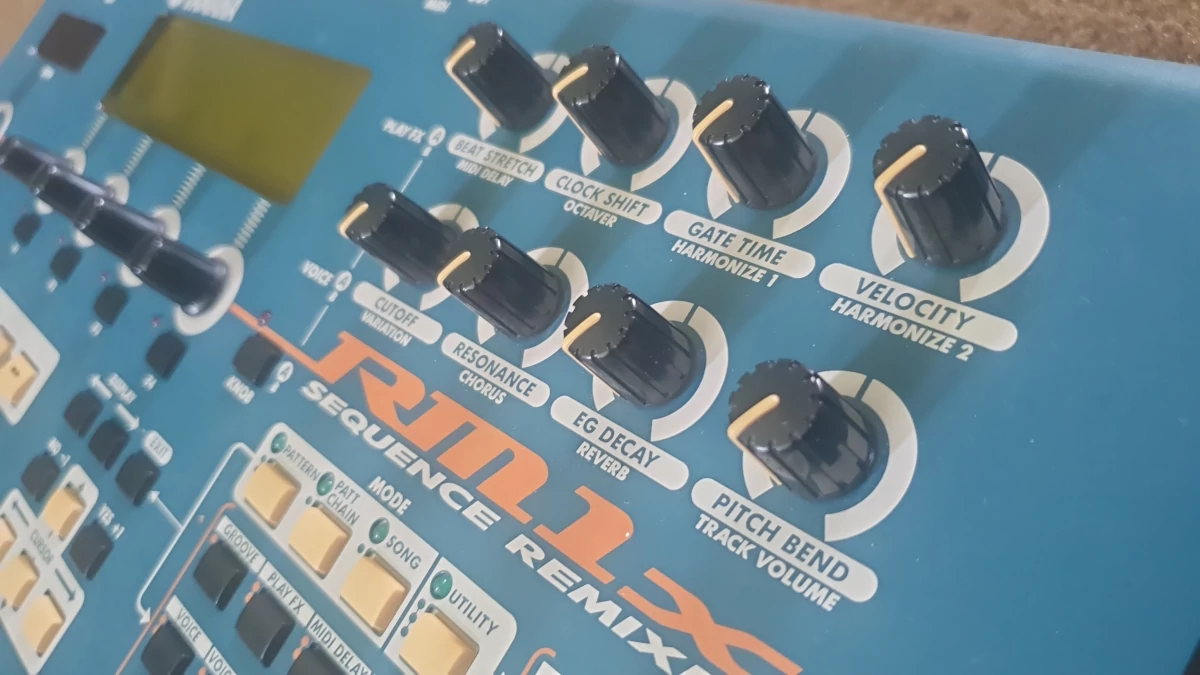
Button Whitening:The button caps were heavily yellowed, almost brown, and were whitened to restore their original white color.
-
Backup Battery:The memory battery was replaced with a new one.
-
Device Cleaning:The device and circuit boards were completely dusted off before soldering work began.
Function Test and Completion
After replacing all components, the synthesizer was reassembled and subjected to a thorough function test. All buttons now responded precisely, the encoders worked flawlessly, and the potentiometers adjusted parameters without any issues.
Thanks to this repair, the instrument could be fully used again – a worthwhile intervention that gave the Yamaha RM1x an extended lifespan and improved usability.
Conclusion
Replacing buttons, encoders, and potentiometers is an effective way to restore a synthesizer to perfect working condition.
If your Yamaha RM1x exhibits similar problems, we are happy to help – contact us for a professional repair!
You can find spare replacement parts for the Yamaha RM1x in our online shop.